Last updated October 30, 2026
 Sweep & inspection
 Caps & crowns
 Flue relining
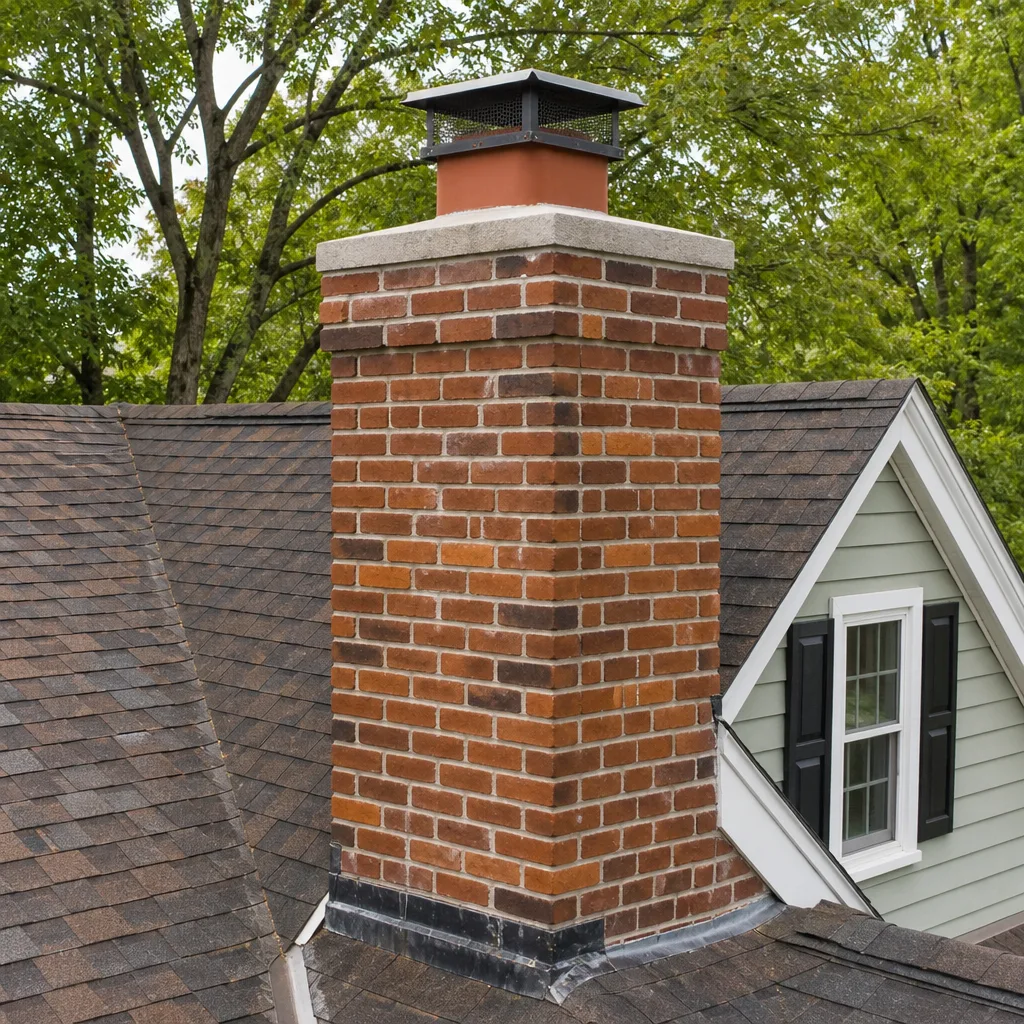 Masonry repair
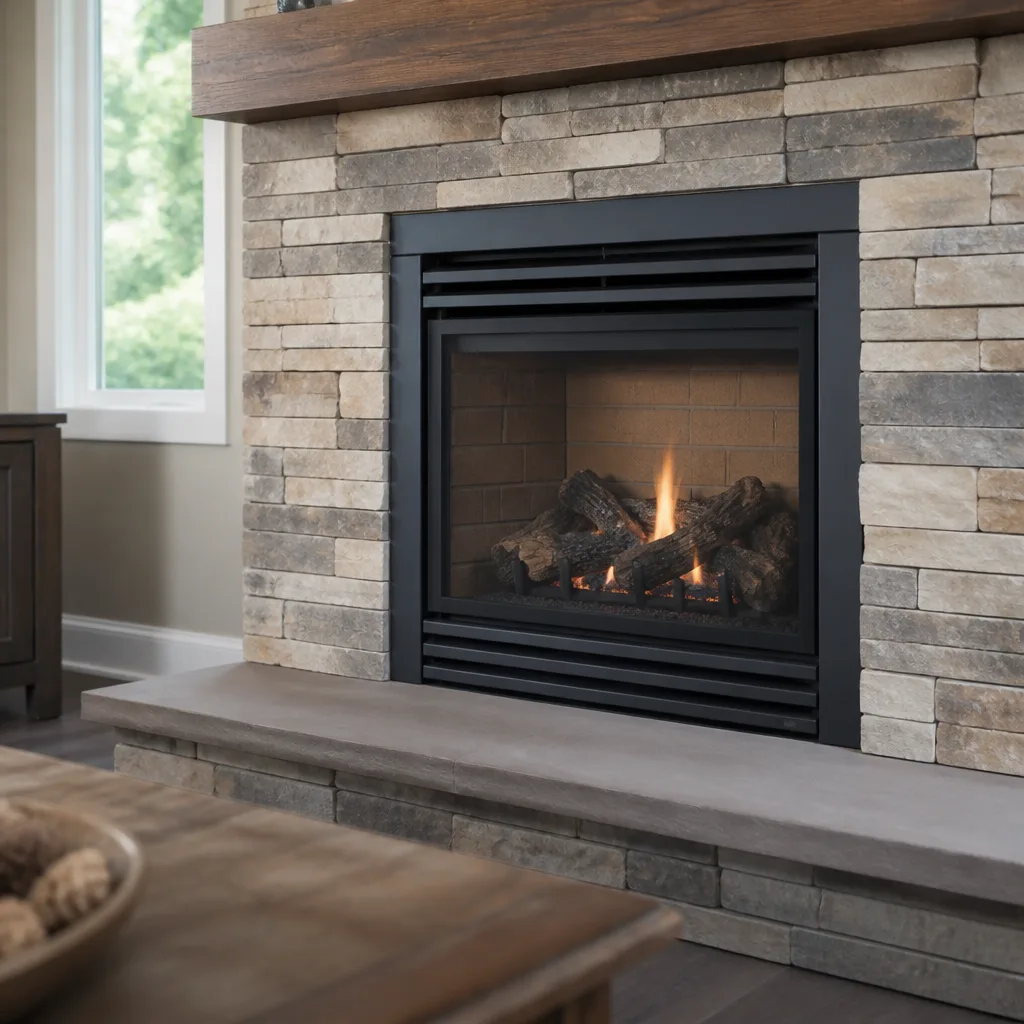 Gas fireplace service
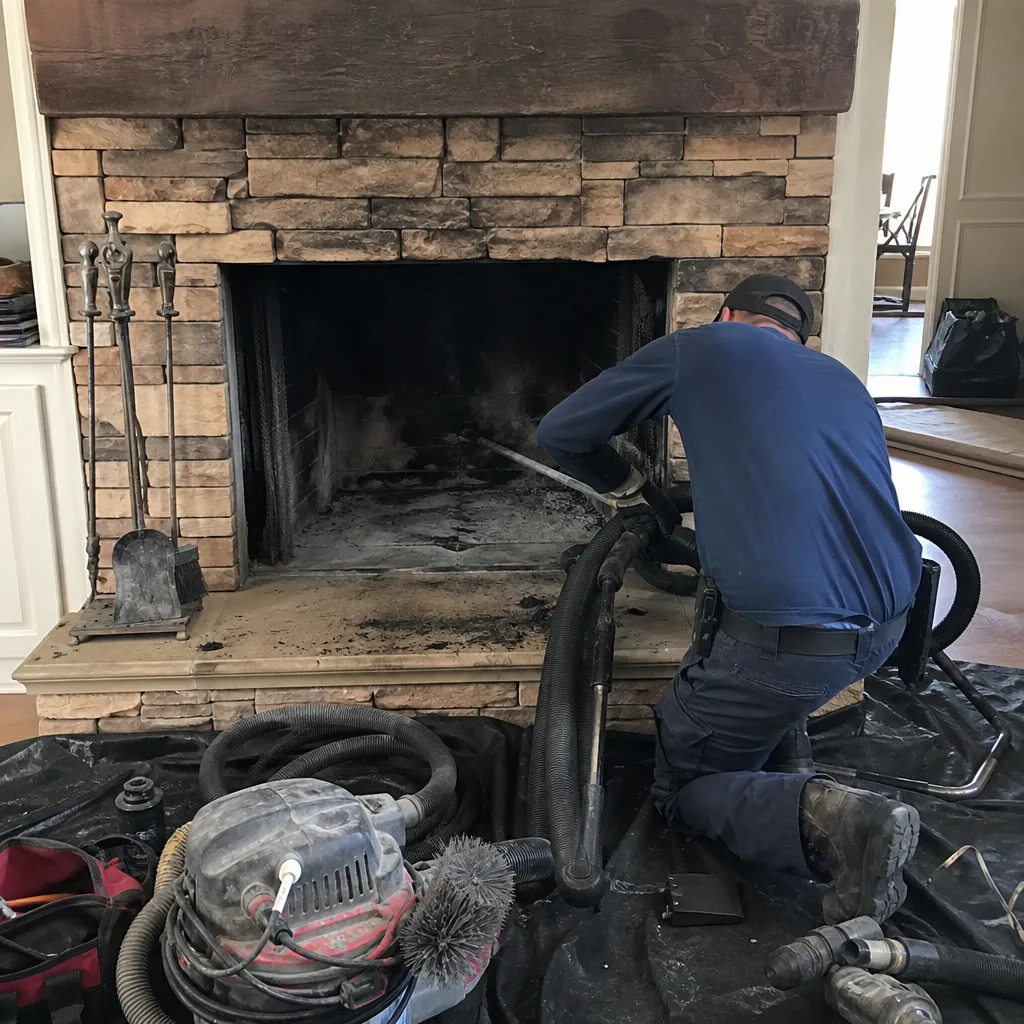
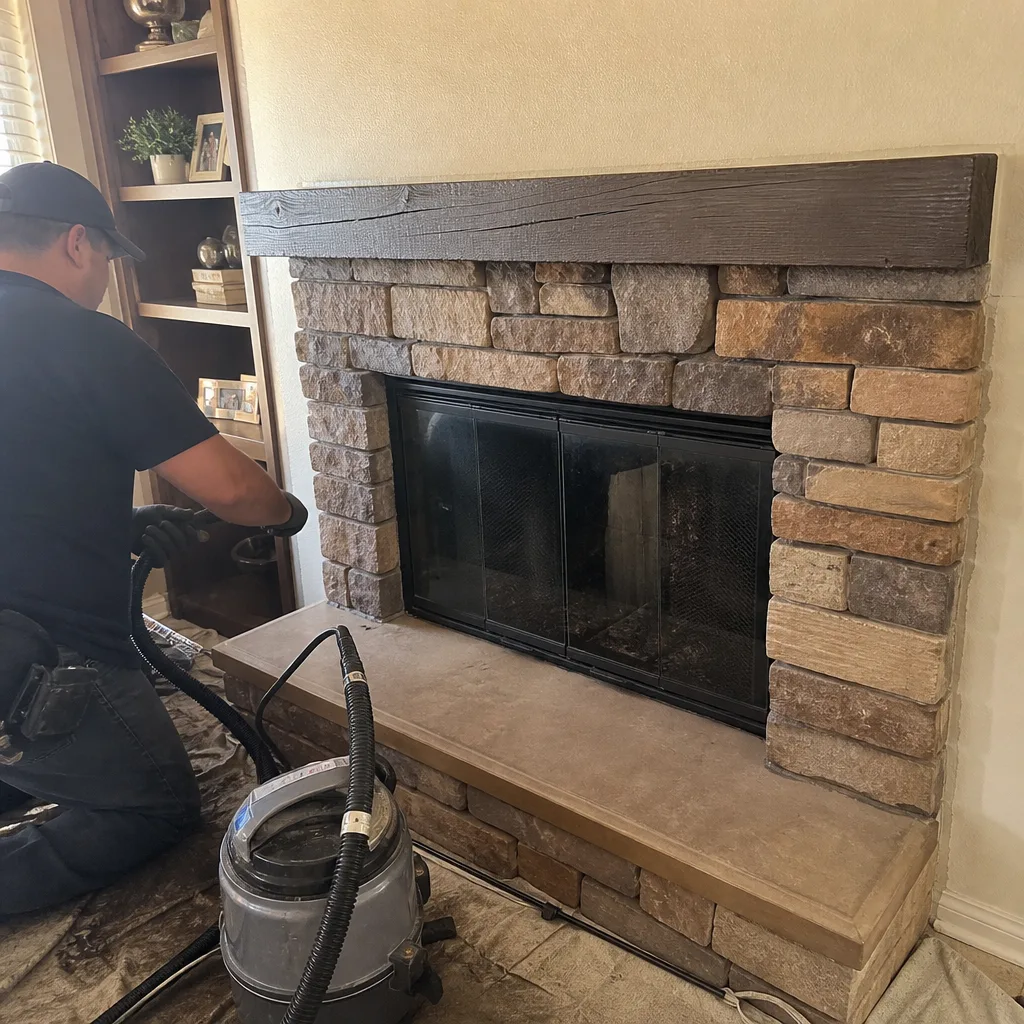
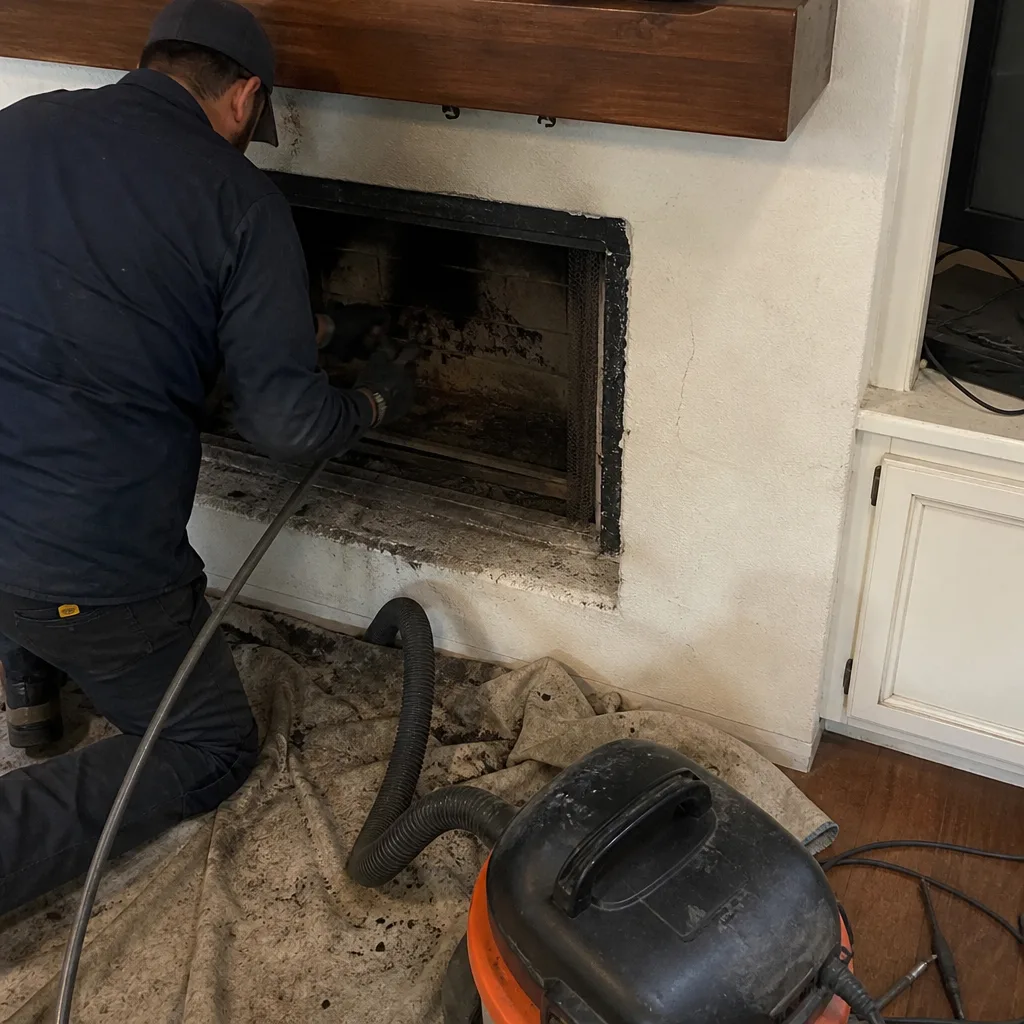
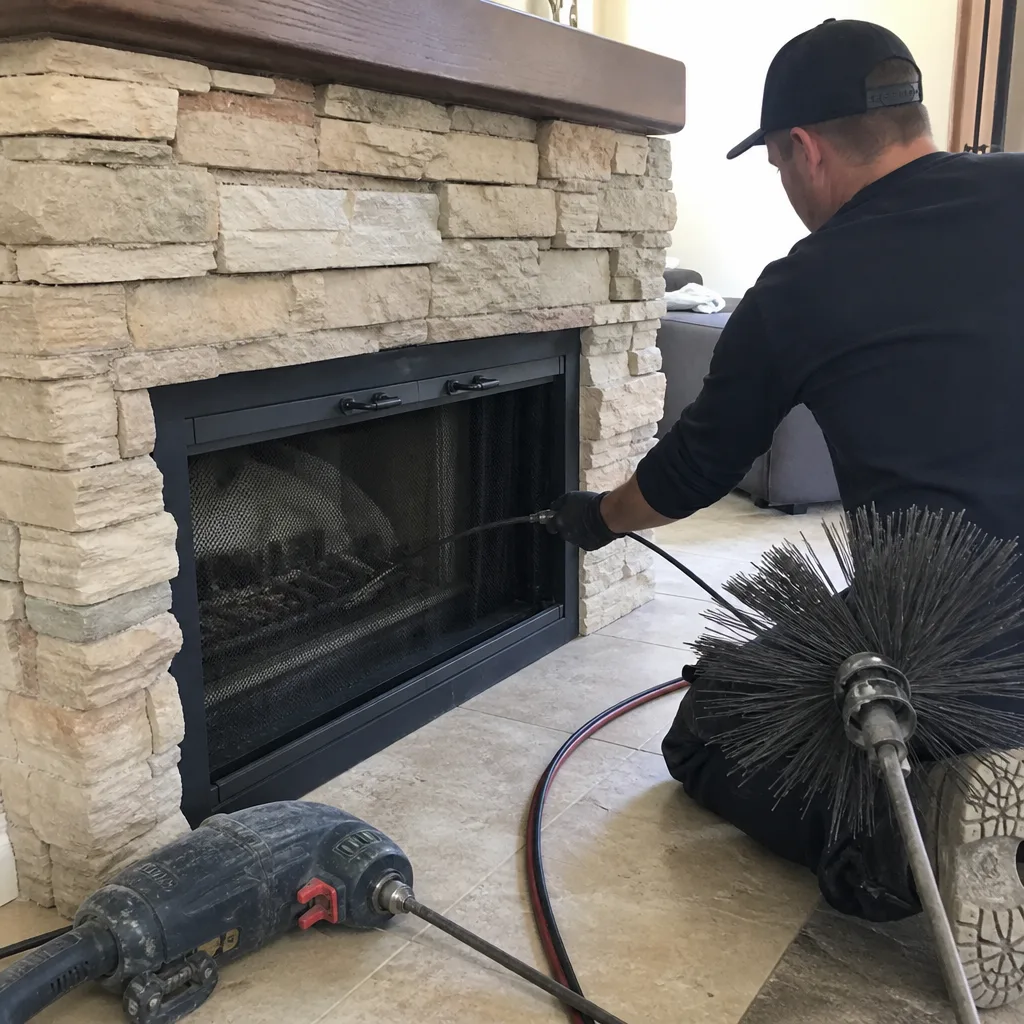
Level 1 sweep and inspection to the NFPA 211 annual standard - flue, crown, cap, and flashing checked and photographed
Chimney sweep logs do not sweep chimneys. They loosen some creosote - which then falls where a brush and vacuum still have to collect it.
Chimney Sweep Maintenance Checklist for Corona Homeowners
The chimney crown is the most neglected component in Corona’s housing stock. It takes direct sun exposure through summers that routinely push past 100°F, then contracts through January nights that drop into the 30s. Most homeowners have never looked at it once since move-in day. This guide walks you through a component-by-component inspection checklist so you know exactly what’s holding, what’s borderline, and what the failure mode looks like if you wait another season to act.
Styles & brands we work with
Quick Answer
A proper chimney maintenance checklist for Corona homeowners covers six components: the crown, cap, flashing, firebox, damper, and flue liner. You can safely inspect the firebox, damper, and visible flue from inside your home with a flashlight, but the crown, cap, and flashing require roof access. We recommend a professional chimney sweep at least once per year in Corona, with a visual self-check in spring and fall.
Table of Contents
- The Chimney Crown: Corona’s Most Vulnerable Component
- Chimney Cap and Spark Arrestor: Your First Line of Defense
- Flashing: Where Roof Meets Chimney
- Firebox and Smoke Chamber: What You Can See from Inside
- Damper Function: The Component Most Homeowners Never Test
- Flue Liner Condition: The Part That Keeps You Safe
- Documenting Condition Year-Over-Year: Build a Baseline
- Common Mistakes to Avoid
- When to Call a Professional
- Frequently Asked Questions
- The Bottom Line
The Chimney Crown: Corona’s Most Vulnerable Component
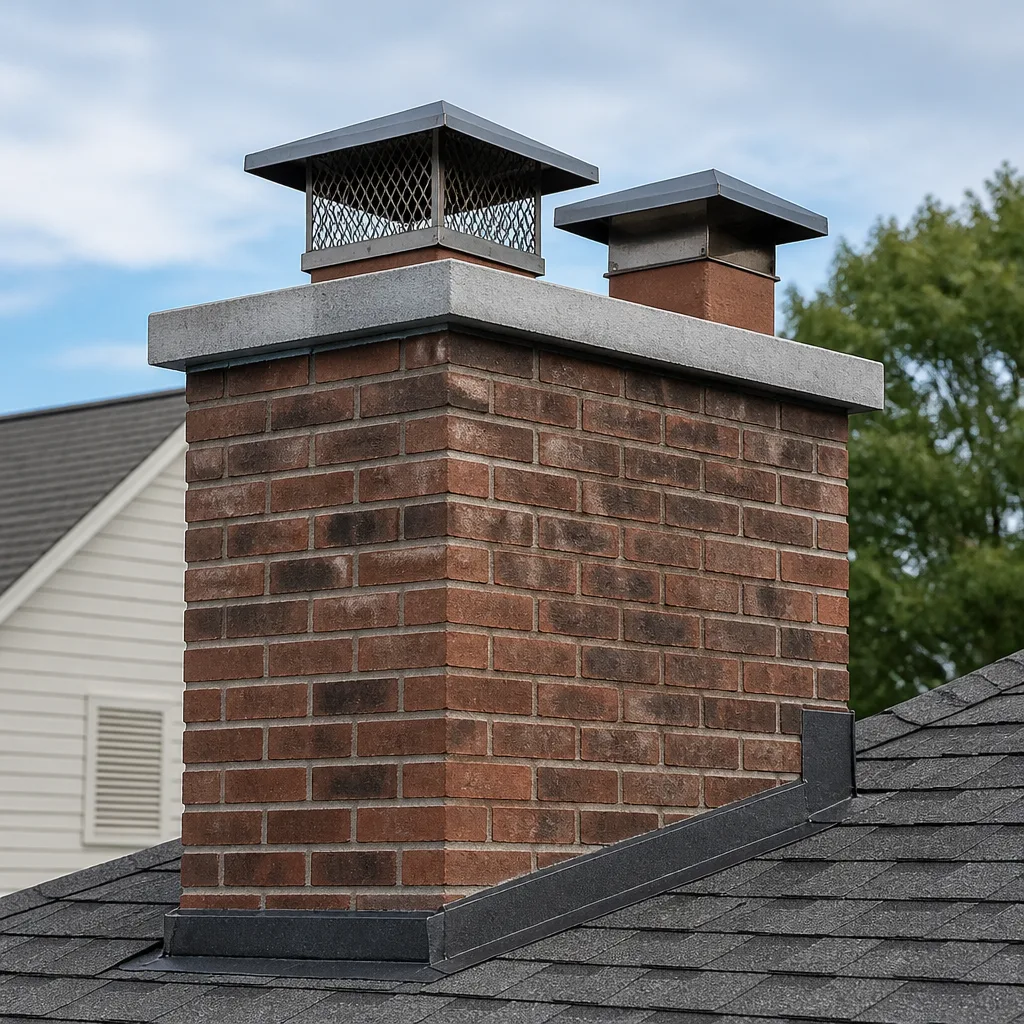
The mortar crown sits on top of your chimney, sealing the gap between the brick and the flue liner. Its entire job is keeping water out of the chimney structure. In Corona, the crown works harder than it does almost anywhere else in California. Summer heat expands the mortar. January nights contract it. Repeat that cycle a few hundred times and hairline cracks form, widen, and start letting water into the brick below.
A crown failure shows up in three ways, and all of them are visible from the roof. First, hairline cracks running across the crown surface. These look cosmetic but they’re entry points for moisture. Second, spalling: small chunks of mortar or brick that have flaked off and are lying in the gutter or on the roof deck. Third, rust stains running down the chimney face, which usually means the crown’s steel reinforcement is oxidizing and swelling, accelerating the cracking from inside.
We use crown sealants designed for high-temperature exposure cycles, not generic concrete patch. A proper crown repair involves cleaning the surface, filling cracks with a flexible sealant that can handle thermal movement, and in some cases rebuilding the crown entirely with a sloped pour so water sheds away from the flue. If the crown is gone past sealant territory, we rebuild it with a proper mortar mix and a drip edge so runoff doesn’t cling to the brick.
Corona homeowners shopping for crown work should ask what product is going on. A caulk tube from a big-box store won’t survive a Corona summer. We source our crown materials from Olympia Chimney and Copperfield, the same lines stocked at contractor supply houses, because they’re formulated for exactly this kind of thermal cycling.
How to Check Your Crown from the Roof Safely
- Use a proper roof ladder with standoff arms. Steep pitch and clay tile roofs common in Corona neighborhoods like Sierra del Oro and South Corona need a stable base.
- Visually inspect the crown surface for cracks wider than a hairline. Run a finger along any crack you find. If it catches, water’s getting in.
- Look for white mineral deposits on the brick below the crown. That’s efflorescence: water moving through the masonry and evaporating, leaving salts behind.
- Tap the crown lightly with a rubber mallet. A hollow sound means the mortar has separated from the brick underneath. Solid means the bond is still intact.
Chimney Cap and Spark Arrestor: Your First Line of Defense
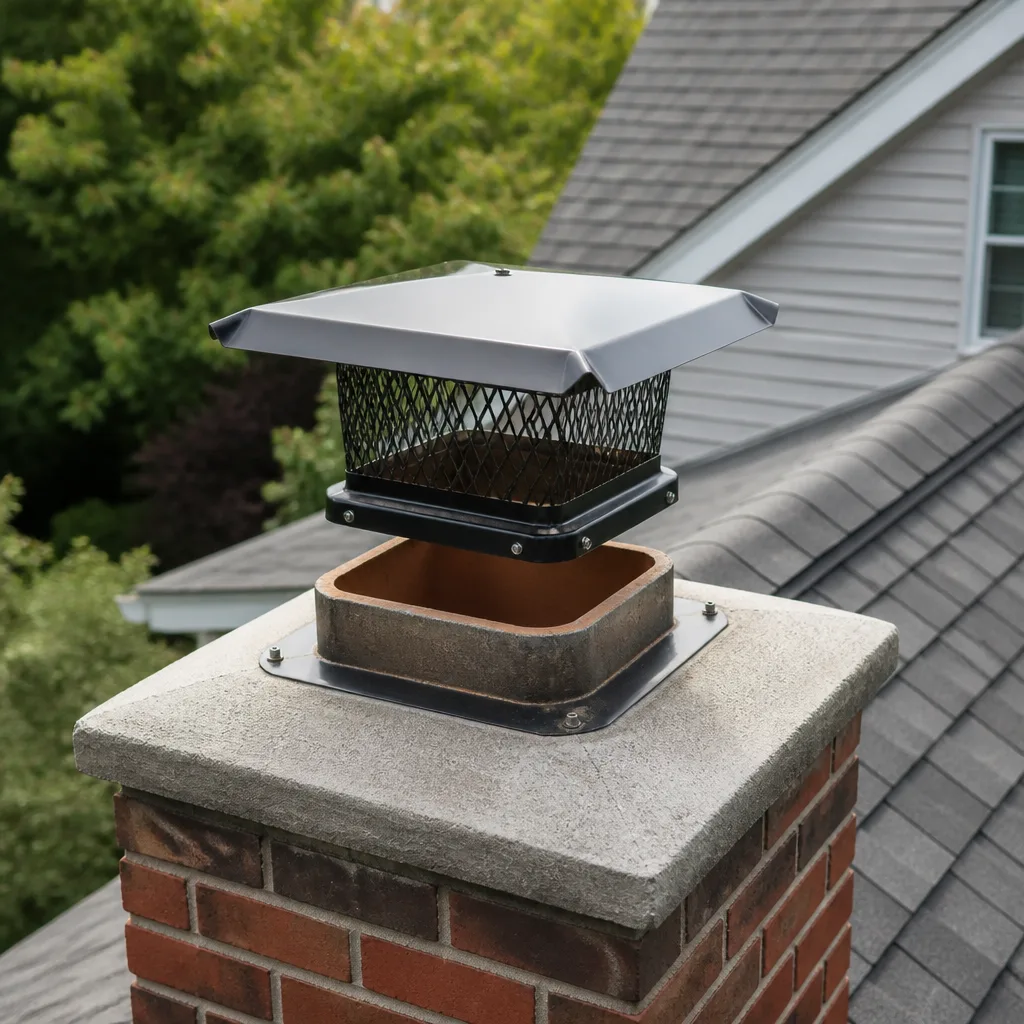
The chimney cap does three jobs at once, and homeowners who skip it learn all three the hard way. It keeps rain from going straight down the flue, it keeps birds and squirrels from nesting in the smoke chamber, and the spark arrestor mesh around its sides keeps embers from landing on your roof during fire season. In Corona, with wildfire risk a concern in the hills around Eagle Glen and the Santa Ana corridor, the spark arrestor isn’t optional.
A cap failure is easier to spot than a crown failure. Walk outside and look up. If the cap is missing, rusted through, or leaning, it’s done. A leaning cap usually means the mounting screws have pulled out of the crown, which in turn means the crown around those screws is soft and crumbling. You’re looking at two repairs: the crown and the cap.
Cap replacement is straightforward when the flue tile is in good shape. A stainless steel cap sized to your flue diameter, clamped or screwed into the crown with a silicone bead at the base. We install caps from Famco and Copperfield, and on chimneys where the flue tile sticks up unevenly, we’ll level it before setting the cap so the clamp bites evenly. If you see daylight between the cap base and the crown, water’s getting in and animals will find it before you do.
For chase-mounted caps on prefab or manufactured chimneys found in many newer Corona tracts, the failure point is the chase cover itself: a flat sheet-metal pan that rusts through at the corners. Replacement is a custom-fabricated cover or an off-the-shelf unit from Olympia Chimney sized to your chase dimensions, then sealed and screwed down. Don’t let the cap fall through a rusted chase cover; it’s cheaper to replace the cover than to rebuild a water-damaged chase.
Flashing: Where Roof Meets Chimney
Chimney flashing leaks are one of the most common call-outs we run in Corona, and the weird part is that most homeowners think the roof is the problem. They see water staining on the ceiling near the fireplace and call a roofer. The roofer replaces shingles or tiles. The leak continues. The actual problem is usually step flashing and counter-flashing around the chimney, where the waterproofing has separated from the brick or the masonry itself has started pulling away from the roof structure.
There are two flashing planes to check. Step flashing is the L-shaped metal woven under each course of roofing material and bent up against the chimney brick. Counter-flashing is the metal cap or reglet cut into the mortar joint above the step flashing, overlapping it so water sheds down and out instead of behind. When mortar between the bricks crumbles, the counter-flashing loses its anchor and opens a gap. When roofing tiles shift, the step flashing gets exposed and water funnels straight down.
What you can do from the ground: look for rust marks, missing sections of flashing, or visible gaps where flashing meets the chimney masonry. What we do on the roof: remove the old flashing, inspect the brick for freeze-thaw spalling, and install new step flashing and counter-flashing bedded in fresh mortar. For chimneys that need liner work at the same time, we spec DuraFlex stainless flexible liners that fit through the existing opening without tearing up the flashing any more than necessary.
Corona’s heat-to-cold swing is at the heart of most flashing failures. The expansion and contraction of brick and metal at different rates pulls the flashing apart over several seasons. That’s not a roof defect. It’s expected wear, and it’s one reason an annual inspection from a chimney contractor matters more than an annual roof tune-up for anything involving the chimney.
Firebox and Smoke Chamber: What You Can See from Inside
The firebox is the masonry box where the fire burns. The smoke chamber is the inverted funnel above it that guides smoke up into the flue. Both of these are visible from your living room with a decent flashlight, and both are areas where a homeowner can do a meaningful self-inspection without getting on a ladder.
Start with the firebox. Look at the mortar joints between firebricks. They should be light tan or gray, tight, and uncracked. If they’re black, soft, or missing in spots, the firebox is starting to fail. Look specifically at the back wall and the floor. These take the most heat. Firebricks that shift, spall, or crumble at the edges mean the firebox liner is no longer protecting the structure behind it.
Next, shine the light up into the smoke chamber. You’ll see the walls narrowing toward the flue. Creosote accumulation here is the main issue. It’s a tar-like or flaky black deposit that builds up from wood smoke. A thin dusty layer is normal. A shiny, bubbled, or thick crusty layer is not. Thick creosote in the smoke chamber is the fuel source for most chimney fires, and it’s the #1 thing we remove during a professional chimney sweep in Corona.
If you notice smoke rolling back into the room when the fireplace is lit, the issue could be a cold flue, a closed or partially closed damper, negative air pressure from the HVAC, or a smoke chamber so caked with creosote that it’s choking the draft. None of these resolve themselves. And if you see white staining or damp spots on the firebox walls, water’s getting in from somewhere above: crown, cap, or flashing are the usual suspects.
Damper Function: The Component Most Homeowners Never Test
The damper is the cast-iron or steel plate sitting just above the firebox that opens to let smoke out when you have a fire and closes to keep conditioned air from escaping up the chimney when you don’t. Most homeowners who have a damper problem don’t know it until winter arrives and the fireplace doesn’t draft. Or until summer arrives and the living room smells like stale ash and the air conditioner’s working overtime because it’s pulling chimney air down through an open damper.
There are two classic damper failure modes. The first is mechanical: the handle or the pivot hardware rusts, bends, or seizes, and the damper won’t open or close all the way. The second is a poor seal even when properly closed. That’s a throat that’s warped or a damper plate that’s passed its useful life. You can hear the problem when the wind blows: a whistling that means air’s moving through the chimney even with the damper shut.
Testing your damper takes thirty seconds. Open it, look up, and confirm it’s moving freely and not binding on the frame. Close it, then hold a lighter near the opening. If the flame flickers or leans toward the flue, there’s a draft. That’s air you’re paying to heat or cool escaping up the stack. A minor leak is tolerable. A damper that won’t close at all is a year-round problem, not a seasonal nuisance.
Top-sealing dampers are an upgrade worth considering in Corona, where air conditioning runs long hours in the summer. A top-sealing damper mounts at the flue opening instead of the throat, with a silicone gasket that actually seals against the flue tile. It pulls shut with a cable and spring. The key advantage is that it keeps the heated flue air from creating a draft stack that pulls conditioned living-space air out of the house. We replace throat dampers and install top-sealing units when the original damper is beyond reliable operation.
Flue Liner Condition: The Part That Keeps You Safe
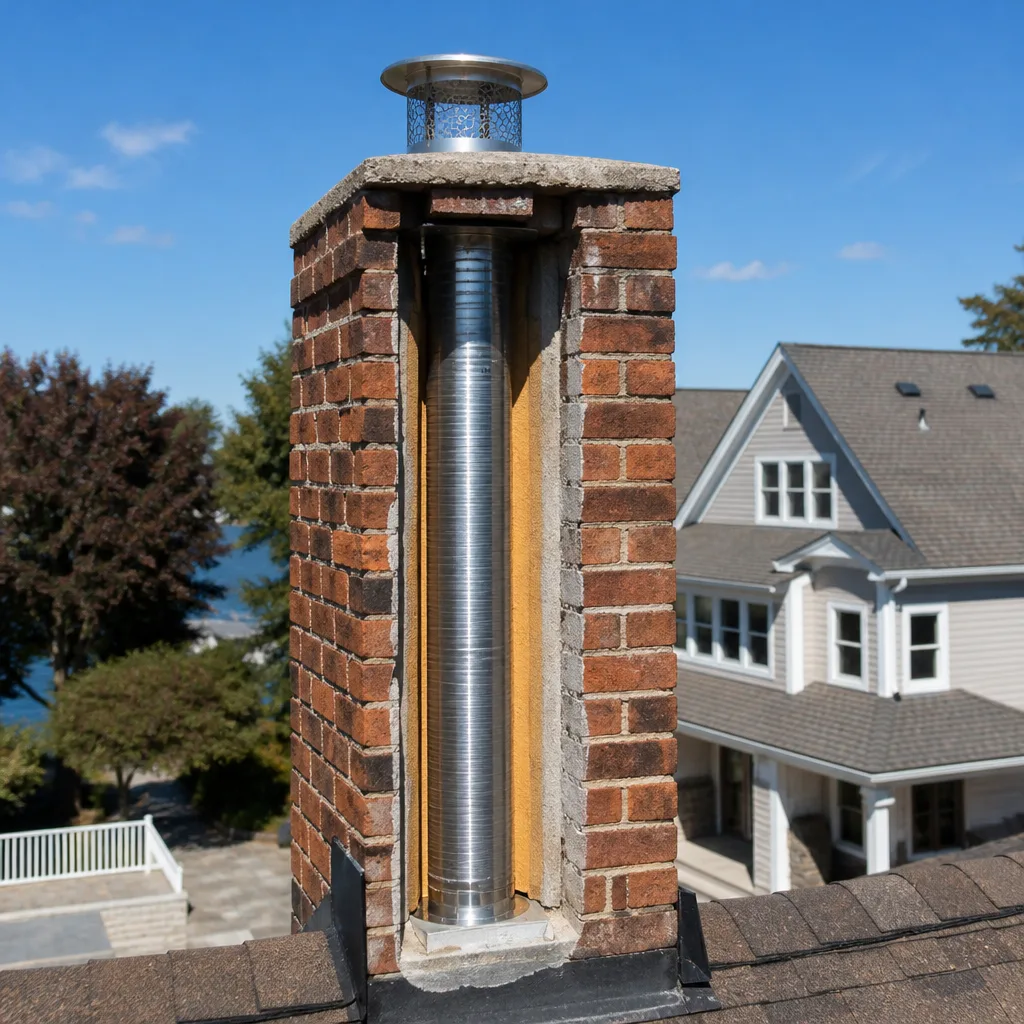
The flue liner is the vertical passage running from the smoke chamber to the chimney top. It contains the heat, the gases, and the corrosive byproducts of combustion and channels them up and out. A failing liner is the most serious chimney problem a homeowner can have, because it’s also the one you can’t see from the ground and usually can’t fully evaluate from the firebox either. It takes a camera, and that means a professional inspection.
Clay tile liners crack from three things in Corona: thermal shock from hot fires in a cold chimney, water intrusion from a failed crown or cap that freezes and expands inside the joints, and plain old time. Once a crack forms, flue gases leak through to the brick structure behind the liner. That’s not a draft problem. That’s carbon monoxide moving through the wall cavities of your home.
The fix depends on what the camera shows. Hairline cracks and deteriorated mortar joints in an otherwise-sound liner can sometimes be restored with HeatShield resurfacing, which is a ceramic coating applied to the inside of the existing flue. That’s a repair option a sweep-only company can’t offer, because it requires specialized equipment and certification. When the liner is broken beyond repair, has separated tiles, or is missing sections, we install a DuraFlex stainless flexible liner system that runs from the flue collar or appliance all the way to the top and terminates with a proper rain cap.
Listen, an unscoped chimney is an unmaintained chimney. If you’ve been burning wood seasonally in Corona for more than a few years and have never had a camera inspection, that’s the single highest-priority item on this checklist. We repair what we find, and that’s the whole reason a full-service chimney repair company in Corona is a different conversation than hiring a sweep crew that cleans and hands you a referral slip for anything structural.
Documenting Condition Year-Over-Year: Build a Baseline
Here’s the section that most maintenance guides skip. You can have a professional sweep every year and still not know whether your chimney is degrading or holding steady, because nobody writes anything down. Verbal history only goes so far. What you want is a photographic and written baseline so you can compare this year against last year and last year against the year before.
Start with date-stamped photos. Take them from the same positions every time. One from the ground looking up at the chimney face. One from the roof looking down at the crown. One from inside the firebox looking up at the damper and smoke chamber. Store them in a folder on your phone or laptop. Every time you or a technician inspects, add the new set and compare. Cracks that were hairline last spring and are now visible from the ground are a different priority level than cracks that haven’t moved.
- Date and label every photo set: Chimney_Spring_2025, not IMG_0487.
- Shoot the crown from all four sides, especially the south and west faces that take afternoon sun in Corona.
- Write a one-line condition note for each component: crown, cap, flashing, firebox, damper, liner. Example: “Crown: two hairline cracks at SW corner, no spalling.”
- Keep receipts from any sweep or repair. A chimney file with dated service records is what a future inspector or contractor can actually work from.
- After any major service, ask for a camera inspection report with still photos. That’s now your new liner baseline.
This documentation matters for a specific reason. When a technician sees a chimney for the first time, they’re working from a single snapshot in time. When you can show them last year’s photos and say, “this crack wasn’t there in March,” you’ve just turned a vague inspection into a precise diagnosis. It also protects you from being told you need work you don’t. If a sweep shows you a camera image of spalling and you’ve got a photo from nine months ago showing the same spalling, you know it’s either slow-moving or stable. If it’s new, you know to act.
Common Mistakes to Avoid
- Treating the chimney as a once-a-year fire-season afterthought. In Corona, the chimney sits through months of extreme heat before fire season even starts. A spring inspection helps catch crown and flashing damage before it becomes a fall emergency.
- Using big-box patch products on a crown or flashing. Those products are formulated for general masonry, not the extreme expansion-contraction cycle of a Corona chimney. Contractor-grade crown sealant from Olympia Chimney or Copperfield is worth the difference.
- Assuming the damper “works fine” because the fireplace drafts. A fireplace can draft with the damper partially stuck open. That’s a false positive. Test the seal when the chimney’s cold.
- Ignoring the dryer vent. A clogged dryer vent is a fire waiting to happen. It’s not part of the chimney flue system, but it’s the same combustion venting principle, and it deserves the same annual attention. We include dryer vent cleaning in Corona as a fire-prevention service, not an add-on.
- Hiring a sweep company that doesn’t do repairs. When a cleaning-only crew finds a cracked flue or a failed crown, they’ll refer you to someone else. Then you’re scheduling another visit, another estimate, another appointment. One provider handling both inspection and repair closes that gap.
- Never having a camera inspection. Visual checks from the firebox only show the first few feet of the liner. The middle and top sections are where most failures happen, and they’re invisible without a scope.
- Letting a missing spark arrestor slide. In a region with Santa Ana winds and wildfire risk, an open flue doesn’t just let water in. It lets embers out. A cap with an intact arrestor mesh is a fire-season requirement, not a preference.
When to Call a Professional
If you see cracks in the crown wider than a hairline, spalling brick on the chimney face, water staining inside the firebox, or creosote that’s thick and shiny in the smoke chamber, the do-it-yourself phase is over. If your damper is seized and won’t move, or if it won’t seal even when closed, the hardware needs replacement. If you’ve never had a camera inspection and the chimney has burned wood for more than a few seasons, schedule one before the next fire. If you have a gas insert or gas logs venting into that flue, a crack in the liner is a carbon monoxide path, and that’s not a weekend handyman project. Corona Chimney Sweep offers free estimates in Corona. Call (855) 382-6159 and we’ll put eyes on the whole system: crown to firebox, flue to cap. For more on what a full inspection covers, start with our Corona Chimney Sweep home page.
Frequently Asked Questions
Once a year, at minimum, if you burn wood regularly during fall and winter. The National Fire Protection Association standard calls for sweeping when creosote build-up reaches 1/8 inch, and an annual visual inspection catches that threshold before it becomes a chimney fire risk. Call (855) 382-6159 to schedule a sweep and we’ll assess creosote levels while we’re there.
A standard chimney sweep in Corona typically runs between $180 and $300 depending on flue type, roof accessibility, and creosote volume. Add-ons like a camera inspection, cap replacement, or crown sealing are quoted before work begins. For an exact number on your chimney, call (855) 382-6159. Estimates are free.
Depends on what the camera shows. Hairline cracks and deteriorated mortar joints in an otherwise sound clay liner can often be addressed with HeatShield resurfacing, which restores the flue interior without full liner replacement. Separated tiles, missing sections, or a liner that’s broken beyond coating range means a new liner, and we install DuraFlex stainless flexible systems for code-compliant venting. You’ll see the camera images yourself before any repair is recommended. Call (855) 382-6159 to schedule an inspection.
Creosote builds up and becomes the fuel source for a chimney fire. A cracked crown or failed cap lets water into the masonry, which spalls brick and deteriorates mortar joints. A cracked liner lets flue gases, including carbon monoxide, migrate into the wall structure. None of these failings announce themselves until they’re expensive or dangerous. A yearly inspection stops the slow decline. Call (855) 382-6159 to get an inspection scheduled.
Yes, parts of it. From inside the firebox, you can inspect the firebrick, the damper operation, and the lower smoke chamber with a flashlight. From the ground, you can spot a missing or leaning cap, rust on the flashing, or obvious brick spalling. The crown, upper liner, and flashing need roofline access and, in the liner’s case, a camera. We handle the parts you can’t reach safely.
It makes sense. A clogged dryer vent restricts airflow, makes the dryer work harder, and accumulates lint that ignites easily. Since our technicians are trained in combustion venting and dryer vent fire prevention, one visit can handle both systems. We treat dryer vent cleaning as a fire-safety service on equal footing with the chimney work. Call (855) 382-6159 to book both at once.
The Bottom Line
A useful chimney maintenance checklist for Corona homeowners is a component-by-component condition log: crown, cap, flashing, firebox, damper, and flue liner, each checked on a regular schedule, each documented with photos and notes. Corona’s heat and cold cycles put stress on the masonry that milder coastal climates don’t see, and the failure mode for every component is water intrusion, structural degradation, or fire hazard. You can inspect the firebox and damper from inside. The crown, cap, flashing, and liner need roof access and a camera. The point isn’t to check boxes. It’s to know which parts are holding, which are failing, and what breaks next if you wait. Chimney repair in Corona works the same way: diagnose before you act, and repair what you find.
Written by the team at Corona Chimney Sweep, serving Corona since 2018.
See the difference
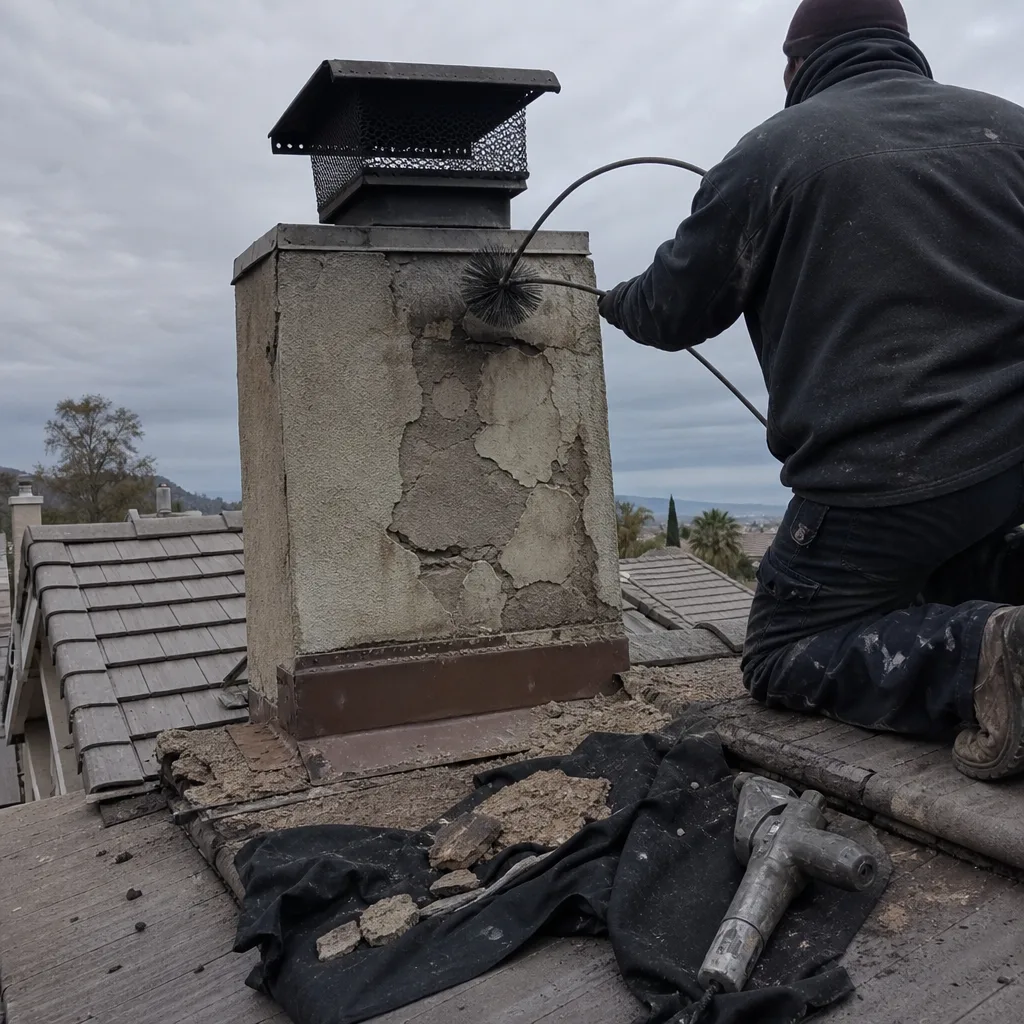 Before
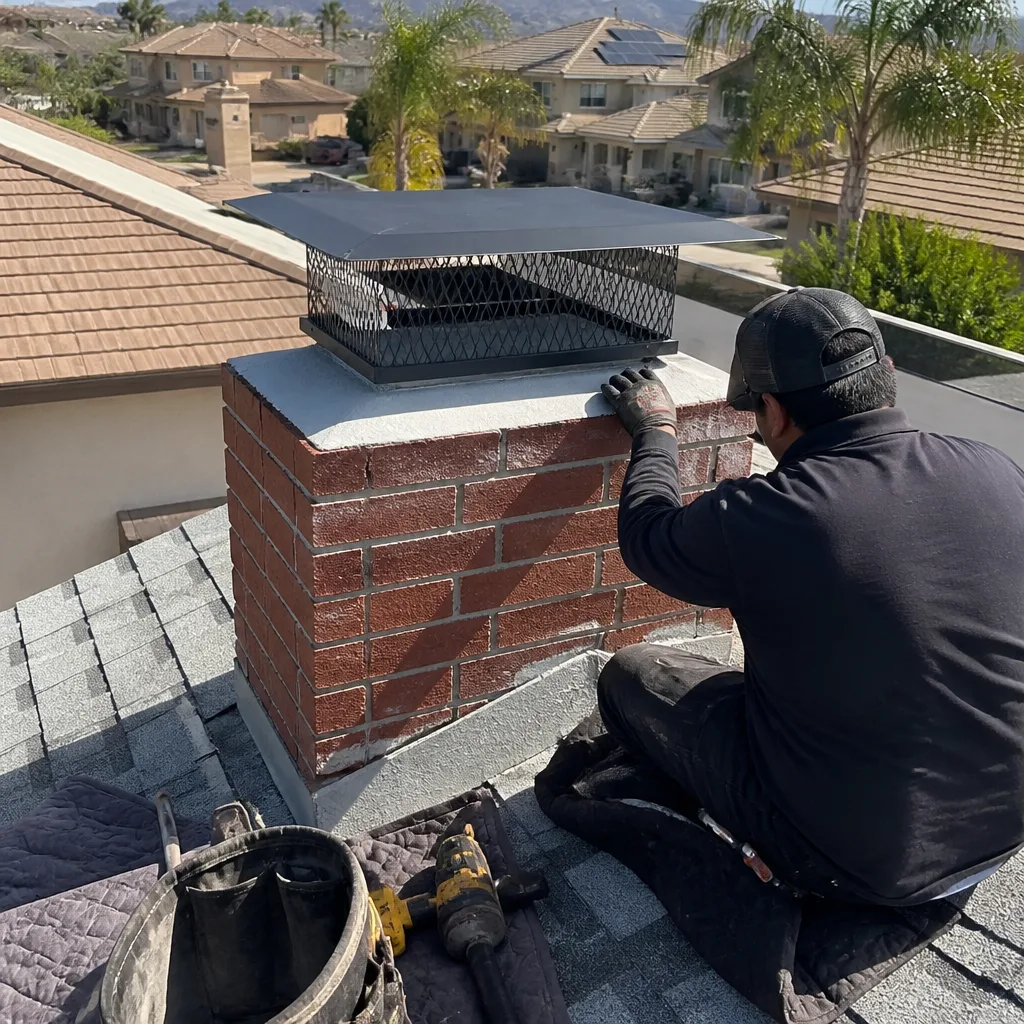 After
 Before
 After
 Before
 After